This lesson will discuss how to prepare to write high-quality content. There are different approaches to writing content, but I’ve found that creating a blog post outline makes the writing process more efficient.
Step 1: Do Your Research
Before creating an outline, you’ll need to research the topic extensively. Keyword research is a great starting point but doing research for an article is very different. This is where expertise comes in handy; the more experience you have in a niche and the topic you’re writing about, the less time you’re going to spend doing research. The opposite is true for niches and topics you’re interested in but know little about.

Make sure to only gather information from credible sources. The last thing you want to do is spend hours researching and gathering inaccurate information about a topic. Keep researching until you’re certain the information you’re going to put out is correct and factual. This is important for your authority and credibility down the road.
Step 2: Create A Blog Post Outline
Creating an outline will dramatically boost your productivity.
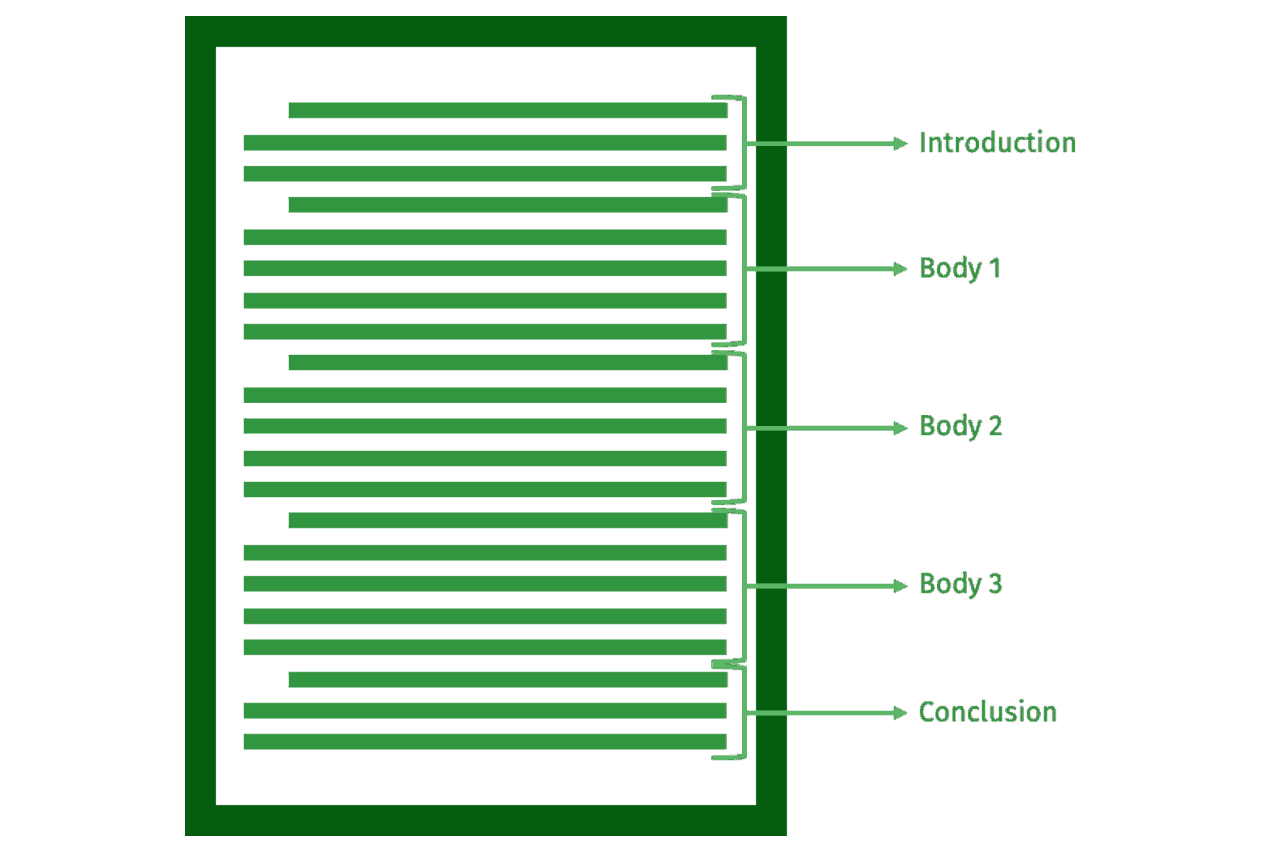
Think back to essay writing in school. An essay is composed of an introduction, a conclusion, and a body with at least three main points that are discussed in detail. The same structure works very well for blog posts.

The three main points of your post need to address your readers’ pain points and questions head on. Remember, you need to add value to your readers’ lives, so make those main points relevant and helpful to them.
At this early stage, balance the quality of your content with how often you publish a post. In terms of SEO, you want your website to be updated often. Some people post 800-word, sometimes even 500-word, articles frequently, but it’s nearly impossible to provide value with content this short because it barely scratches the surface of a given topic. Even if the article were entertaining and well-written, the substance would almost certainly be lacking.
By contrast, some people think the only way to establish authority is to put out 5,000- or 10,000-word articles. To a degree, they’re right; long-form articles are a great way to establish authority. However, in the early days when you’re establishing your sea legs, you don’t want to spend several days composing gigantic pieces of content.
Striking a balance between the frequency and quality of posts should be incorporated into the initial content strategy. The ideal length of high-quality posts that can still be published fairly often is 1,200 to 1,500 words. In time, as you build authority with 1,200-word articles, you’ll begin to produce articles with 2,000 or even 5,000 words to establish authority in your niche.

Example of an outline made while writing a blog post
Above is an example of an outline I made for a blog post on RueTattoo.com. There may be typos in the outline, and that’s fine. Outlines are internal documents meant to improve your productivity, not to be published. As you can see, this outline contains an introduction, four major points, and a conclusion.
Two things are evident from this outline: I’ve done my research before composing it and writing it took some time, but it’s time spent doing something that will save you time when creating the content. Once the blog post outline is complete and you begin writing the article, you can write the introduction and major points without getting confused or not knowing what your next point is because it’s all in the outline! This makes your research and writing processes so much more efficient.
Other Things to Remember About Writing Content
One thing I’ve learned throughout the years is to never edit while writing. What I mean is that you should never do major revisions in your article while you’re in the middle of writing it. Trying to get everything perfect during the first draft dramatically hurts your efficiency. The more practical thing to do is to write what comes to mind during your first draft until it’s done. Then go back and edit and revise as needed.
Another lesson I’ve learned is to type drafts into a plain-text editor such as Notepad in Windows or Notes in Mac. Typing a draft into a word-processing software, like Microsoft Word or Pages for Mac, will cause problems when the content is copy and pasted into the built-in editor of WordPress.
The time to proofread and edit your work, apply the necessary formatting (e.g., emphasis on certain words, headlines, subheadings, bullet points, etc.), and insert relevant images is when the content has been pasted into WordPress. Leave the cosmetic tweaks for after you’ve drafted your content. This allows you to focus on one thing at a time, from the most important to the least.