(43) comments
Add Your Reply

If you’re trying to crack how to make money dropshipping, you’re in the right place!
This lesson’s length is about to achieve EPIC proportions, and the last thing I want to do is prolong it unnecessarily with a “hypey” introduction. I think the content of this lesson speaks for itself.
BUT… I do want to preface it with one note:
I’m not trying to “sell” you any of these tools. There are a handful of affiliate links in the message below, but all of these are tools that I use everyday in my own eCommerce business to make money dropshipping.
You can “cut me out” by going directly to the source, if you prefer (you’ll pay the same price).
But I’m not going to waste any of your time pitching or “selling” to you — all of these tools/resources will pay for themselves 10x over if you stick with eCommerce and “crack” it using the training below.
I use them and they save me a ton of time. I think anyone entering this industry should do the same — that’s as “pitchy” as I’m going to get.
With that being said, here’s everything you need to know to crack eCom/dropshipping in step-by-step format:
If you’ve never done most of this, just reading through this guide isn’t going to make any sense.
It’s going to come off as really abstract, overwhelming crap that your brain has no idea how to visualize or interpret.
So I strongly recommend following along with each step, taking action and interacting with the sites/resources as they’re discussed in this tutorial.
With this in mind, it could take you a few days to work your way through this whole guide — and that’s fine.
This should take some time. It’ll be the foundation of your entire eCommerce business.
I learned the hard way that there are two main components to a good niche, particularly when you’re just dropshipping someone else’s products rather than building your own brand. These are essential to anyone’s success when trying to figure out how to make money dropshipping:
We’ll really sink our teeth into picking products later, but for now, let’s talk a little bit about audience research.
click to zoom
If you’re struggling to come up with ideas for a niche that meets the two criteria above, just jump into this step and start playing around. If you keep the criteria from Step 1 in mind, a lot will start to “click”.
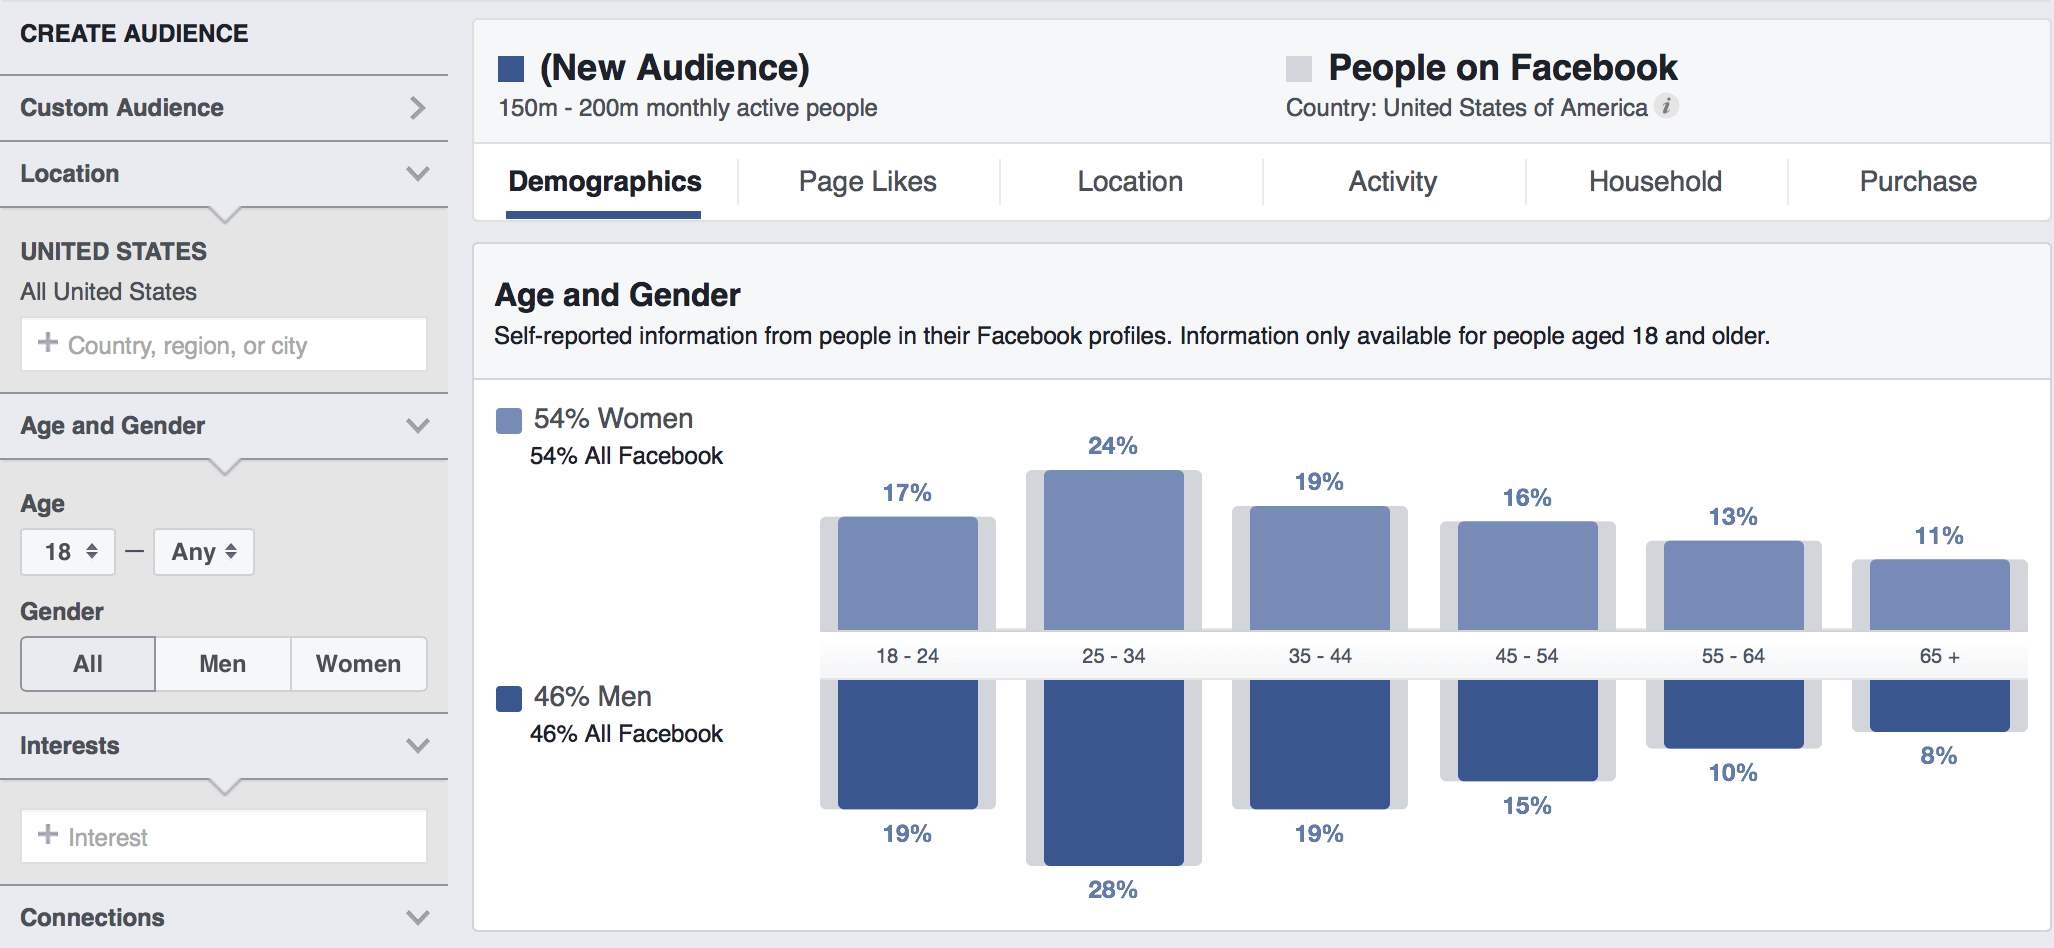
Hop into Facebook’s Audience Insights tool (this link is not broken; you’ll need to be signed into a Facebook account): https://www.facebook.com/ads/audience-insights/people
The best way to get a feel for this tool, just like anything else, is playing around with it for a few hours over the coming days. There’s A LOT of incredible data here — it’s actually kind of creepy…
I recommend narrowing the “region” down to a 1st-world country where most of its citizens can afford to shop online (no offense intended, but your store is going to flop without people that can afford your products).
Then I’d start typing in popular Facebook pages in my targeted niche, in the “interests” field on the left.
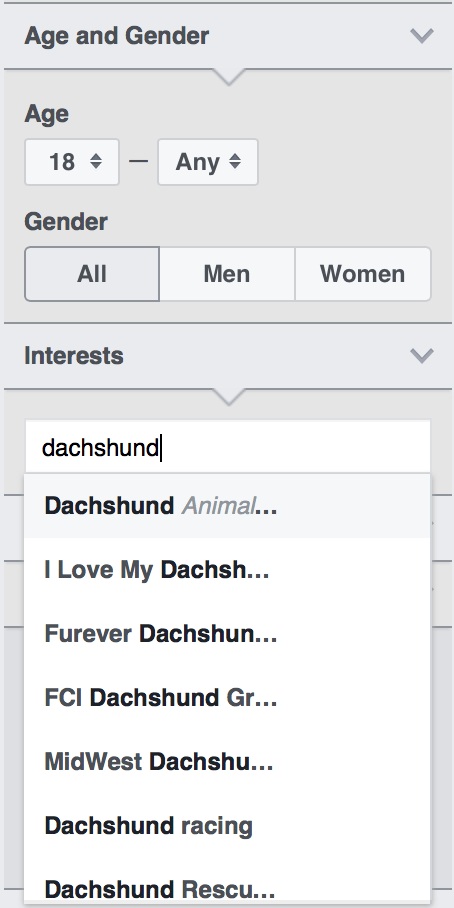
Don’t have a niche yet? Just input one of YOUR favorite Facebook pages and start looking at the top categories, top “liked” pages, etc. You can even narrow it down further by adding other Facebook pages to the “interests” section, and likely begin finding some popular niche stores in the top 20-30 “Page Likes” section.
These niche stores can be golden when you find them. They provide key insights like what’s selling, what price points you should aim for, etc.
That should get the niche ideas flowing. Remember — you want it to be able to combine enough of these interests around the world to reach an audience of AT LEAST 10,000,000 people.
Create a spreadsheet categorizing the Facebook interests and pages that you see popping up the most, and that you think would be most likely to buy products in your niche. Examples of interest groups you might use (the columns in your spreadsheet) are:
TV Shows
Music
Events
Magazines
Retail Websites
Boutique/Niche Websites
Humor
Celebrities
Etc…
I’d recommend building out a spreadsheet of at least 5-7 broad interest groups (like those listed above) each with 5-10 interests in the rows below.
So in the end, you should have a total of 25-70 different interests and pages. Save this spreadsheet somewhere — you’ll use this for ad targeting later.

click to zoom
click to zoom
There are a lot of ways to build an eCommerce store — WordPress, WooCommerce, BigCommerce, Magento, and countless others.
None of them make it as quick and easy to make money dropshipping than Shopify.
Create a Shopify account (the first 14 days are free, so make the most of them) and, just like anything else, start playing around with it to learn the ropes.
Shopify also has a massive knowledgebase and awesome support team if you get stuck anywhere: https://help.shopify.com
Setup the general navigation and “feel” of your store — we’ll worry about the rest a couple of steps from now.
This is the tool you’ll use to import products to your store from AliExpress (detailed later) AND fulfill your dropshipped orders with just a couple of clicks. These are apps that connect directly to your Shopify store.
click to zoom
I’ve noticed that a lot of people talking about how to make money dropshipping discuss Oberlo, but not Dropified. Dropified is a bit newer, which I think is part of the reason it’s not discussed as much, but I think it’s largely due to a lot of people in this industry regurgitating what others are saying instead of “cracking the code” and making money dropshipping themselves.
Everyone I know making money dropshipping is using Dropified these days. Although Oberlo was recently purchased by Shopify, so hopefully it will compete more in the coming weeks.
I’ve used them both. I started off using Oberlo and later transitioned to Dropified (it’s a pain to transition, but it was worth it). Dropified is a hell of a lot faster, more robust, and rolls out new features MUCH more often than Oberlo.
Every store I now launch, I setup with Dropified rather than Oberlo. Like I said, the transition isn’t easy. Both have free trials, so choose whichever one appeals to you most:
-OR-
We’ll dig into using these during Step 6.

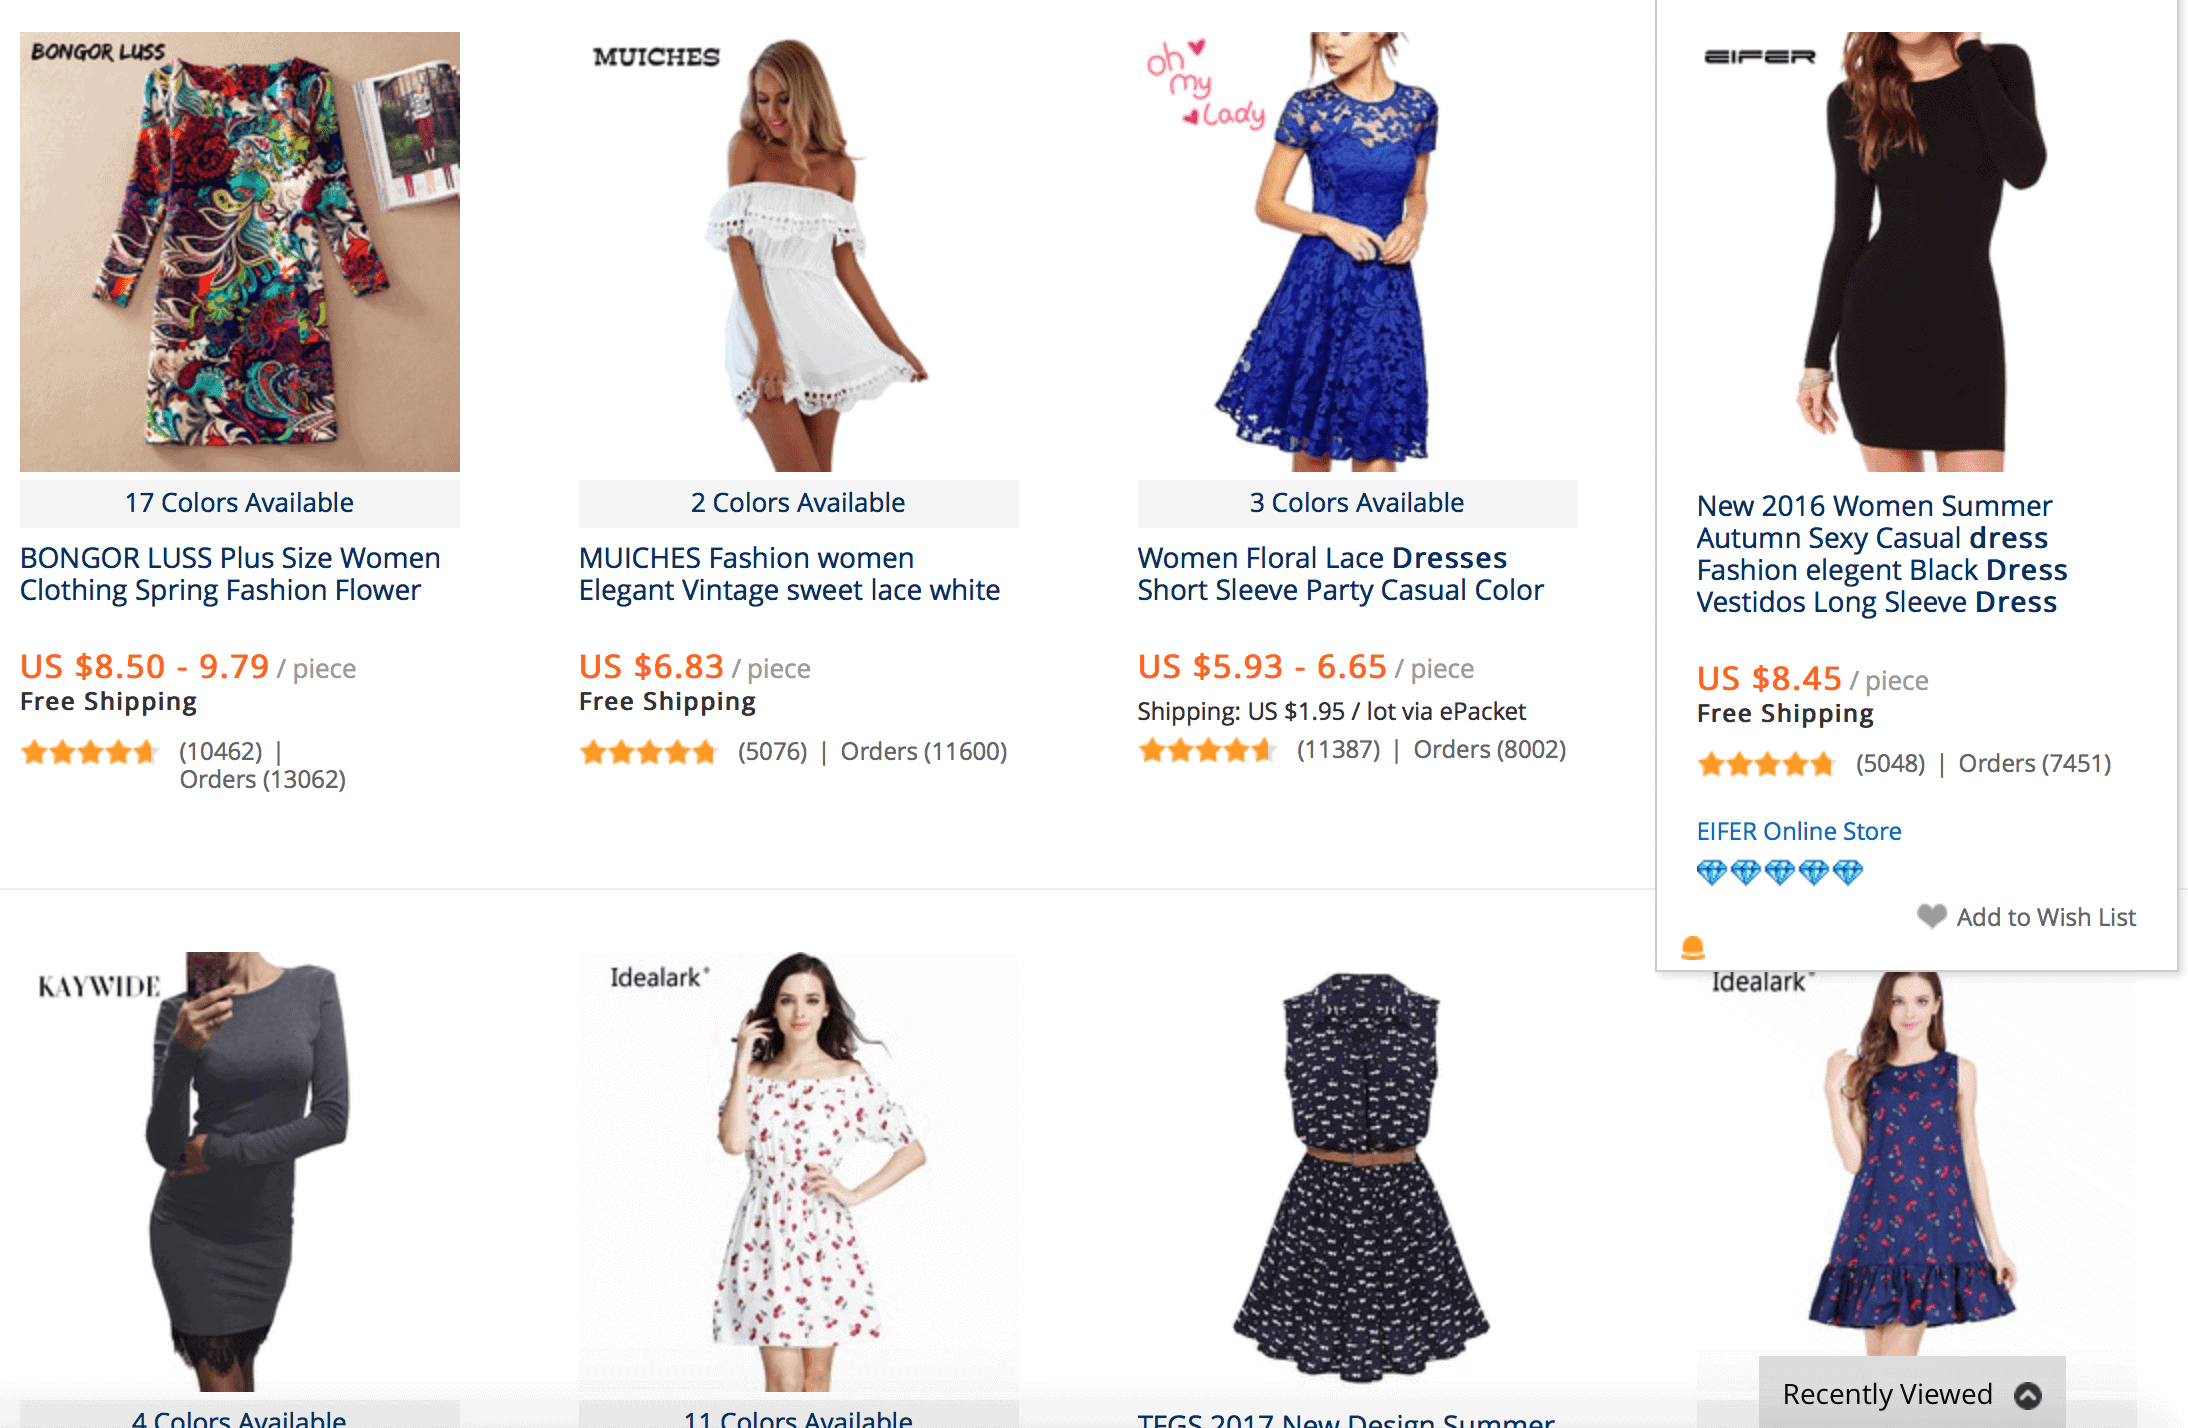
This is where you’ll source your products from, at least to begin. Anything you find on AliExpress can be imported to your store and fulfilled with two clicks using the Dropified or Oberlo plugin.
It’s a massive collection of incredibly cheap products shipped directly from China.
If you play around with it for more than a few minutes, you’ll discover really quickly: we’re paying a hefty markup for almost everything we buy as consumers — almost everything is imported from China.
AliExpress gives us direct access to the same manufacturers that many multimillion-dollar retailers use.
Now you can benefit from the markup of really cheap Chinese goods, too. This is how most dropshipping are earning income and building their businesses.
These are NOT all crap quality — we’ll talk about how to ensure you’re sourcing high-quality goods in the next step.
Alright, we need to linger on this step for a bit because there’s a lot of important information to cover. Before you really dig into products, keep these things in mind:
If you fail to satisfy ANY of the points above, you’re starting the race by shooting yourself in the foot. It’s going to be difficult making money dropshipping with products that don’t meet these criteria.
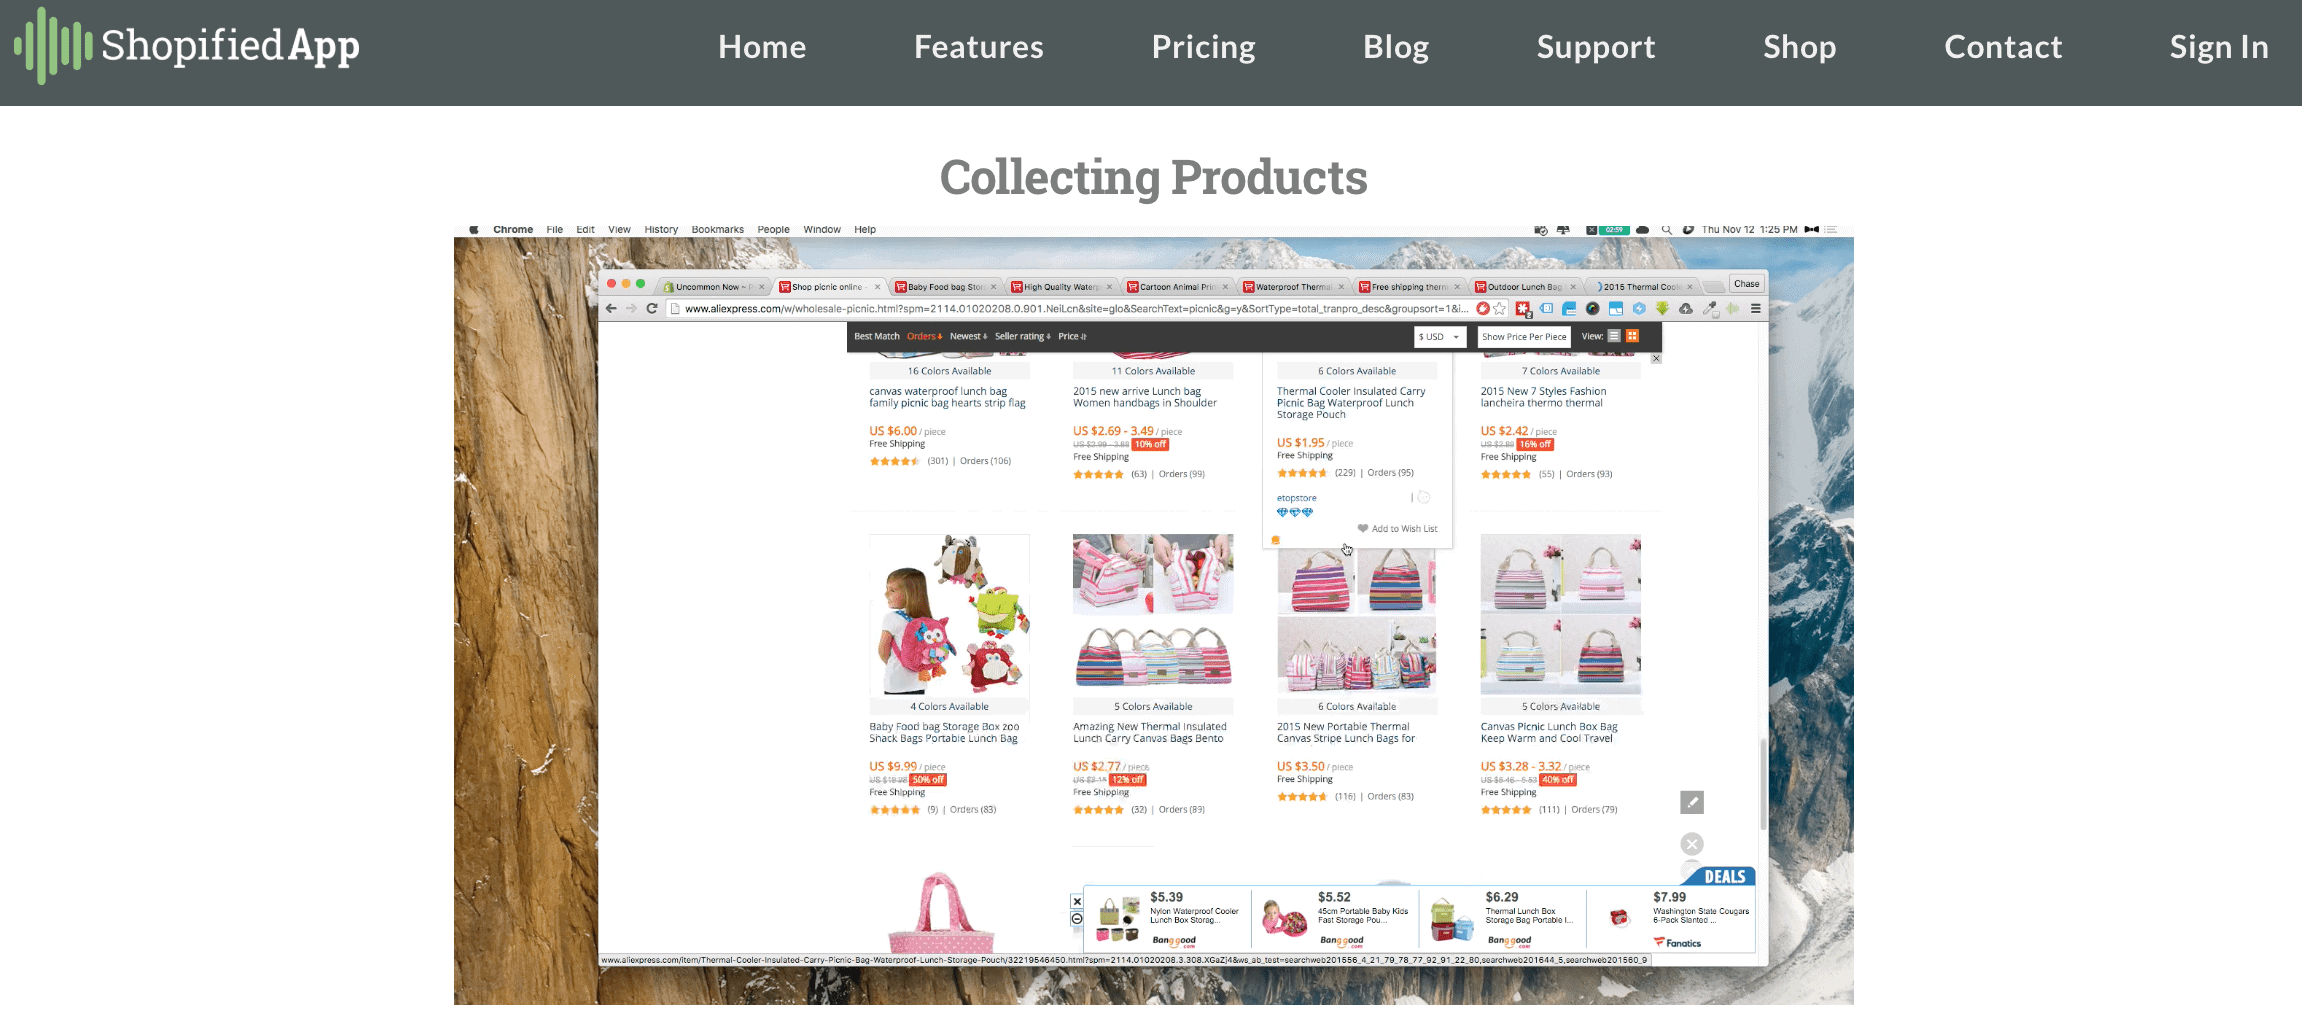
click to zoom
Play around with all kinds of search terms — shirts, jewelry, bags, accessories, pants, dresses, shoes, sunglasses, gadgets, etc.
It’s as easy as “NICHE shirts”, “NICHE blouses”, “NICHE accessories”, etc… A small tweak to a search term can pop up TOTALLY different results on AliExpress.
It can take several hours to hunt down 4-5 REALLY good products. Take your time here — this will be one of the biggest factors that determines your success or failure.
As you search on AliExpress, always click the option at the top of the search results to sort by “Orders”. This will sort the most-frequently-ordered items to the top of the search results, which is helpful, but there’s more to ensuring your products are high quality.
I personally only import items to my store that have at least 100 reviews/ratings and 4.3+ stars. That narrows down your options a lot, I know, but it also SIGNIFICANTLY decreases the customer service burden you’ll face once you start getting a lot of orders.
Once you sort by orders and see the “cream” rise to the top, it’s basically up to your judgement to pick ones that you think will sell.
Import the ones that you think will sell using Dropified or Oberlo (those are non-affiliate links to tutorials about how to do this step-by-step with each app).
click to zoom
Remember that you need to mark each of these items up by at least $20 to make money dropshipping after your advertising expenses and item cost.
I’ve sold dresses, that I purchased for $20, for $40-$50 and they still seemed like a “steal” to the customer, so my impulse buys were through the roof (and so were my profits).
I’ve also tested shirts that I got for $5 and had to sell for at least $25, and as a result, they didn’t sell very well at all (low perceived value).
I prefer to stick to items that I can mark up $20 – $30 and they still have a “perceived value” by the consumer to be a total bargain.
You get a “feel” for this over time, but just keep it in mind as you’re picking products to import to your store.
Nobody knows what’s going to sell for sure when they enter a niche — it’s a guessing game for us all. Don’t be discouraged by this.
After you have 4-5 products that meet all of the above criteria, it’s time to launch some tests!
click to zoom (personal details removed)
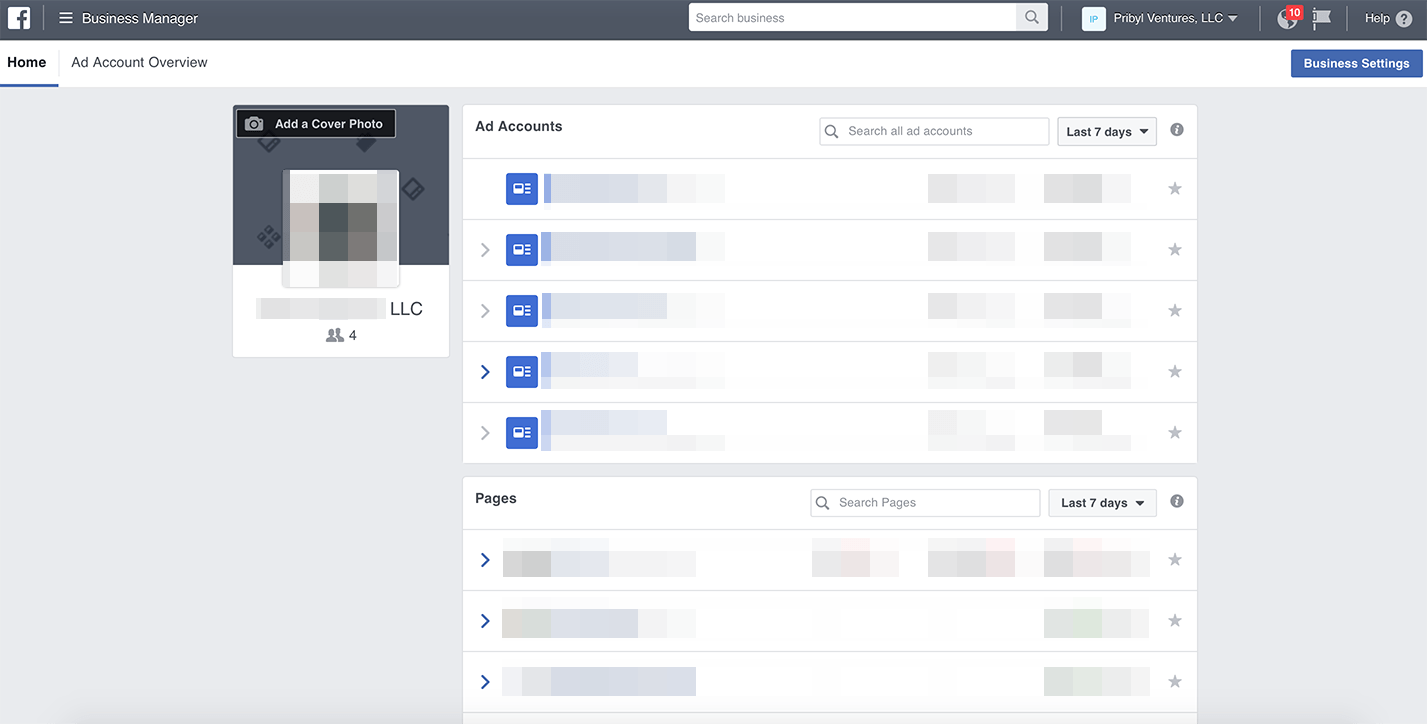
This is really straightforward. You can launch your test campaigns from your personal Facebook account, but it’s best practice to open a business account first.
This will allow you to run ads to multiple niche stores over time in an organized way.
Again, not totally required, but it’s free and takes less than five minutes, so why not?
You can create yours at https://business.facebook.com
Here we go! This is where things can start to feel either:
Really intimidating…
Or totally thrilling.
(maybe both!)
This is where everything from the steps above starts coming together.
Create ad groups based on your interest groups from earlier.
click to zoom
I usually organize my Facebook ads with the product at the campaign level, interest groups at the ad group level, and different creatives (images/text) at the ad level.
So it would look something like this:
If that doesn’t make sense in concept as you’re reading it, it will make more sense as you start building out your ad campaigns.
A lot of people advise launching ad sets at $5/day budgets each, and testing for 5-7 days.
I prefer to launch my ad sets at $10/day each, and test for 3 days. I get data faster this way, rather than having to wait for a week until my next move.
I typically only launch website conversion ads, optimized for purchase. This is personal preference and the “big guns” do A LOT more than that — but I’ve found this to be the best place to start.
After all, when launching ads to make sales, do you want Facebook to optimize for how many people “like” your ad, or how many people actually follow-through and purchase?
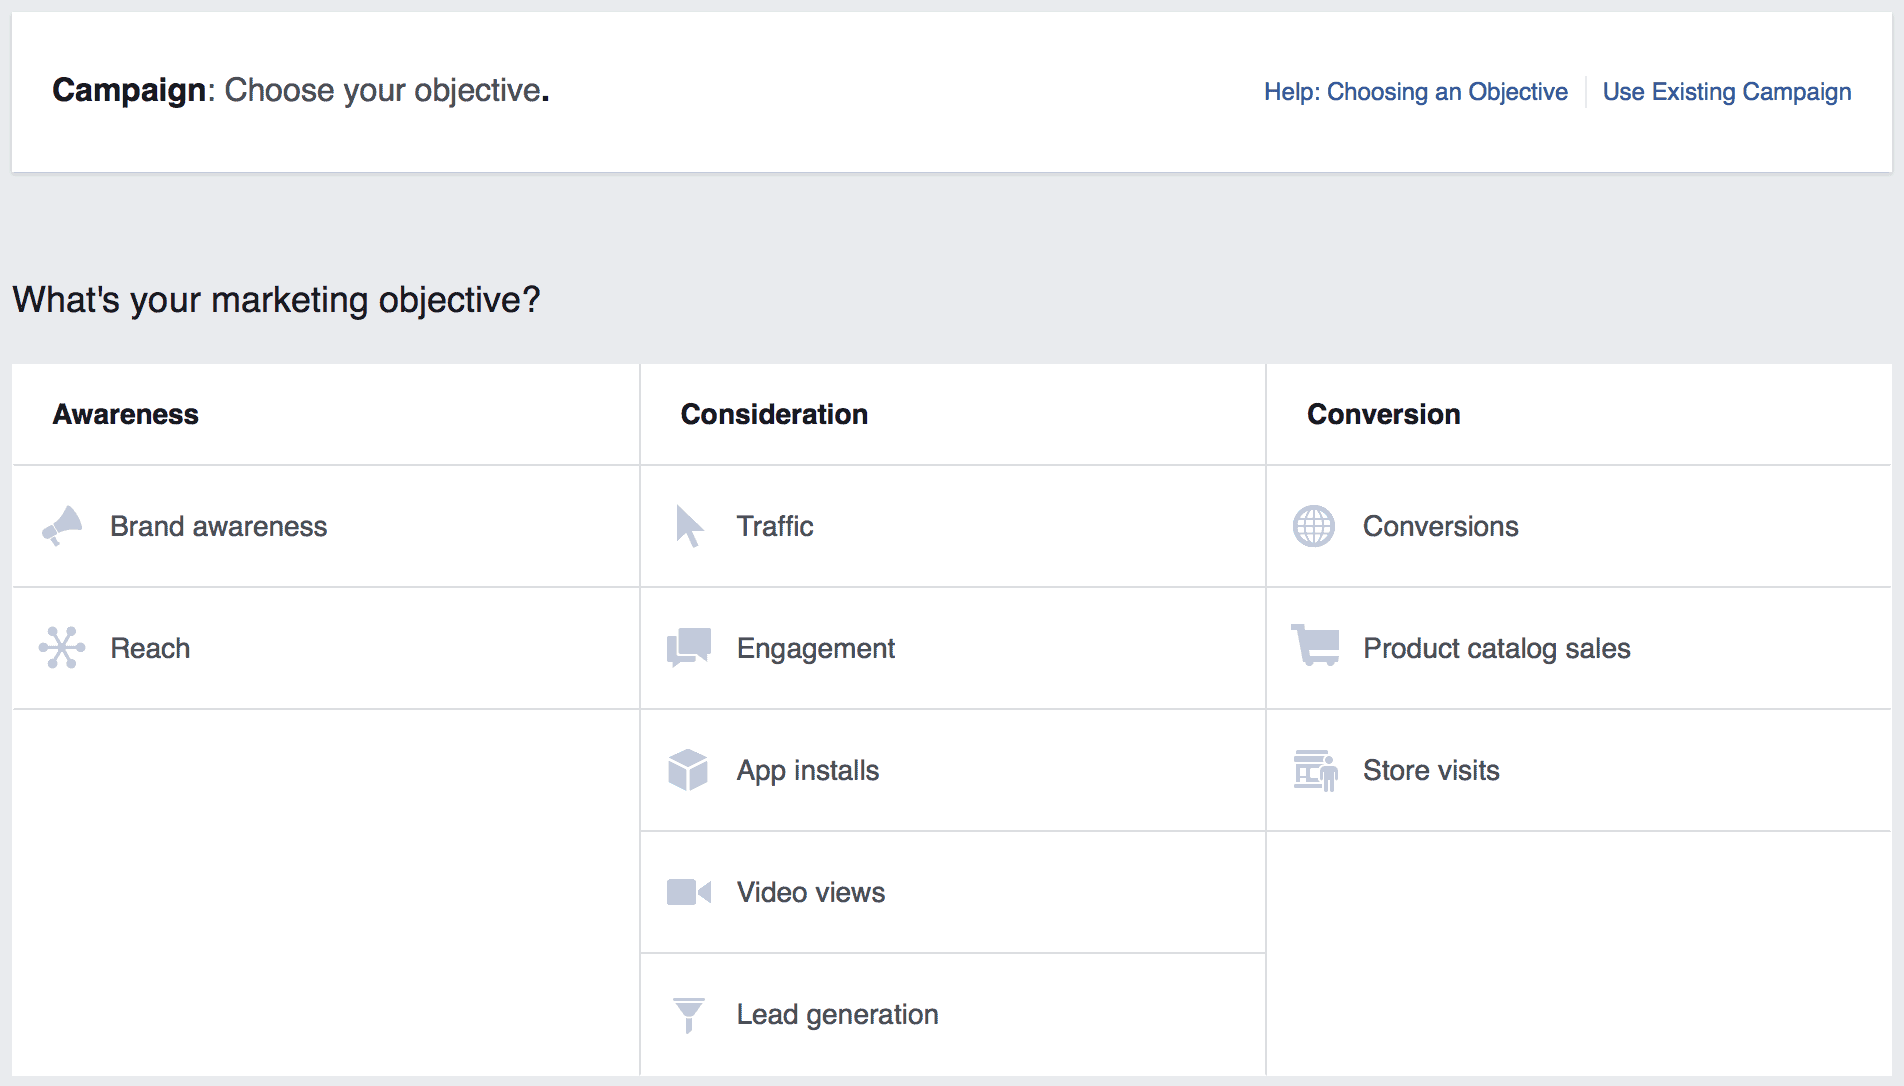
This is done at the campaign level when Facebook prompts you to select what your “goal” is with the advertising campaign.
You select “conversions”, and then towards the top of of the “ad set” settings, you select “purchase” as the conversion action you want to track.

This will require you to setup your tracking pixel in Shopify. This can be done REALLY easily using an app like Trackify (the one I use personally) or you can look up how to do it manually — there are a lot of free tutorials in Shopify’s help section and videos on YouTube.
I personally launch 1200×1200 pixel photo ads for my initial tests, usually with text copy along the lines of:
“Do you <3 NICHE? Then you’re going to LOVE this ITEM.
Currently 43% OFF while supplies last! Get yours today at LINK TO WEBSITE
TAG a friend that **NEEDS** this ITEM!”
It’s not the best ad copy, but it’s good enough for testing. Tweak and play around with it however you’d like.
In total, when launching a new site, I usually run 15-25 ad sets at $10/day each. So about $150-$250/day during my initial tests. Then I wait.
After three days, dig deep into your Facebook analytics. You want to look at a handful of KPIs (key performance indicators):
There are a lot of other helpful metrics in FB’s ad platform, like how many adds to cart each ad set received, how much your CPC for ALL actions were (clicked on your photo, reacted to your video, etc.), how many people watched more than 75% of a video ad, etc… But the ones above are the most critical.
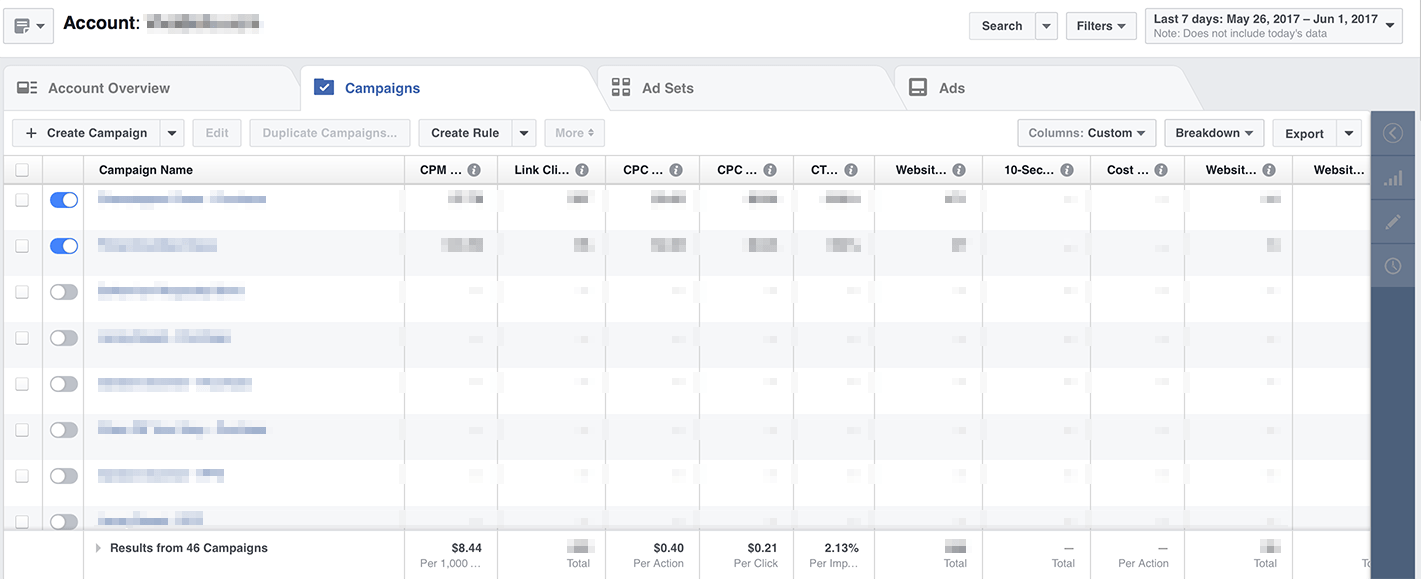
click to zoom (personal info censored)
Based on these metrics, you can get a pretty good idea of what combinations are working.
At its core, the key to making money in eCommerece is presenting the right product to the right audience at the right price.
So if nothing is connecting, either something is wrong with:
If have profitable ad sets after the first 2-3 days, it means you’ve gotten the right product to the right audience at the right price. Find more people like them to scale your profitable ad sets.
After three days, I cut all ad sets that aren’t at least breaking even (5-7 days if you’re only testing at $5 per ad set).
If I don’t have ANY profitable or break-even ad sets after my initial tests, I’ll pick 3-4 more products as well as new interest groups. Then I’ll run a combination of these new products/interests groups for three days.
If I go through all of that three times and STILL can’t find any profitable combinations, I personally move onto a new niche and start over from square 1. I’ve got a dud.
Don’t be one of those people that spends $30 or even $100 on ads and posts to groups, asking…
“What’s going wrong? I’ve spent $100 and only gotten 50 clicks with no sales.”
There’s no way to tell without having access to the data in YOUR ad account.
You’ve either not tested enough, or you’ve chosen a bad niche, non-enticing products, a bad price, or you’re delivering ads to the wrong audience. Simple as that — it’s on YOU to test until you figure out which it is.
Don’t worry if you don’t “nail it” the first time. You can’t learn how to make money dropshipping without “cracking a few eggs”!
If you find yourself saying, “C’mon… there HAS to be more to it than this.”
Well… yes and no. This is the “meat” of my eCommerce business, which profited more than the average American’s annual salary over the last six months.
There are a lot of small details like how to setup your Facebook pixel, all of the individual steps for importing products using Dropified, etc…
But all of that stuff can be found elsewhere online for free… You just have to search a little.
THIS is the “core”. Everything else you can find through Shopify’s help center, Dropified/Oberlo’s resources, simply using Google and YouTube, or by reading through a few really helpful eCommerce groups.
I’m a member of all the following groups (plus many others) and I find them incredibly helpful:
click to zoom
If you do some focused searching and keep up with those Facebook groups, there is A LOT of gold in each of them — some of it better than you’d find in any several-hundred-dollar training product.
It just requires the time and effort to sift through it all.
There will always be more to learn in this industry, just like any other. You’re setting out on a several-month-long journey.

If you find a profitable (or even break-even) niche, you’ll likely want to start learning more about look-alike audiences (abbreviated LAAs and LLAs, depending on the person), how to hire virtual assistants to help with your order fulfillment and customer service (that can eat up entire days QUICKLY if you’re doing any sort of volume), etc.
But this lesson was intended to give you a comprehensive start, and I can’t emphasize strongly enough (and I say this humbly) — it absolutely achieves that purpose.
This is everything that gave me initial success in eCommerce — the rest an be filled in along the way.
This is also, by far, the longest lesson that I’ve ever published on this site.
But I want you to have everything you need in a single place, so bookmark it/star it/print it out/whatever you need to do…
But if you TAKE ACTION on what’s in this lesson and combine it with an independent willingness to fill in the gaps…
You are officially taking your first steps toward running a successful eCommerce business.
I sincerely hope you’ve found this training as helpful as I intended, as I sit here typing it.
Request access to the Facebook groups above and most importantly TAKE ACTION — don’t let this become just another lesson that sits in your bookmarks folder collecting dust.
eCommerce can quite possibly change your life and be the path to achieving your dreams — you just need to bite the bullet and not be afraid of getting overwhelmed, making mistakes, and losing a bit of money along the way.
That’s just the price of admission.
Best of luck, and I’ll be seeing you around my favorite eCommerce Facebook groups soon!
P.S. I usually put together awesome bonuses for people that sign up for premium tools/training using my affiliate links.
This time, frankly — I’ve just laid it all out there from the very beginning. I didn’t hold anything back in this lesson.
If you DO decide to pursue a business in this industry based on the information above, the kindest “thank you” you can send me is using my Shopify, Dropified, and Oberlo affiliate links from this lesson when you sign up.
You don’t have to, of course, but I would greatly appreciate if you supported me and my website by doing so!
I've been in internet marketing for over 10 years, and I've purchased dozens of illegitimate products for the sole purpose of evaluating them and exposing the truth about these products to anyone who's thinking about purchasing it. I never let money influence my rating of a product and your success/safety is my absolute highest priority. Don't want to buy a product? Register for one of my 100% free internet marketing training courses>>
